Glossary
Here you can create and manage a pronunciation glossary that applies at project level. You can add terms to one or multiple languages and customize their phonemization and pronunciation.
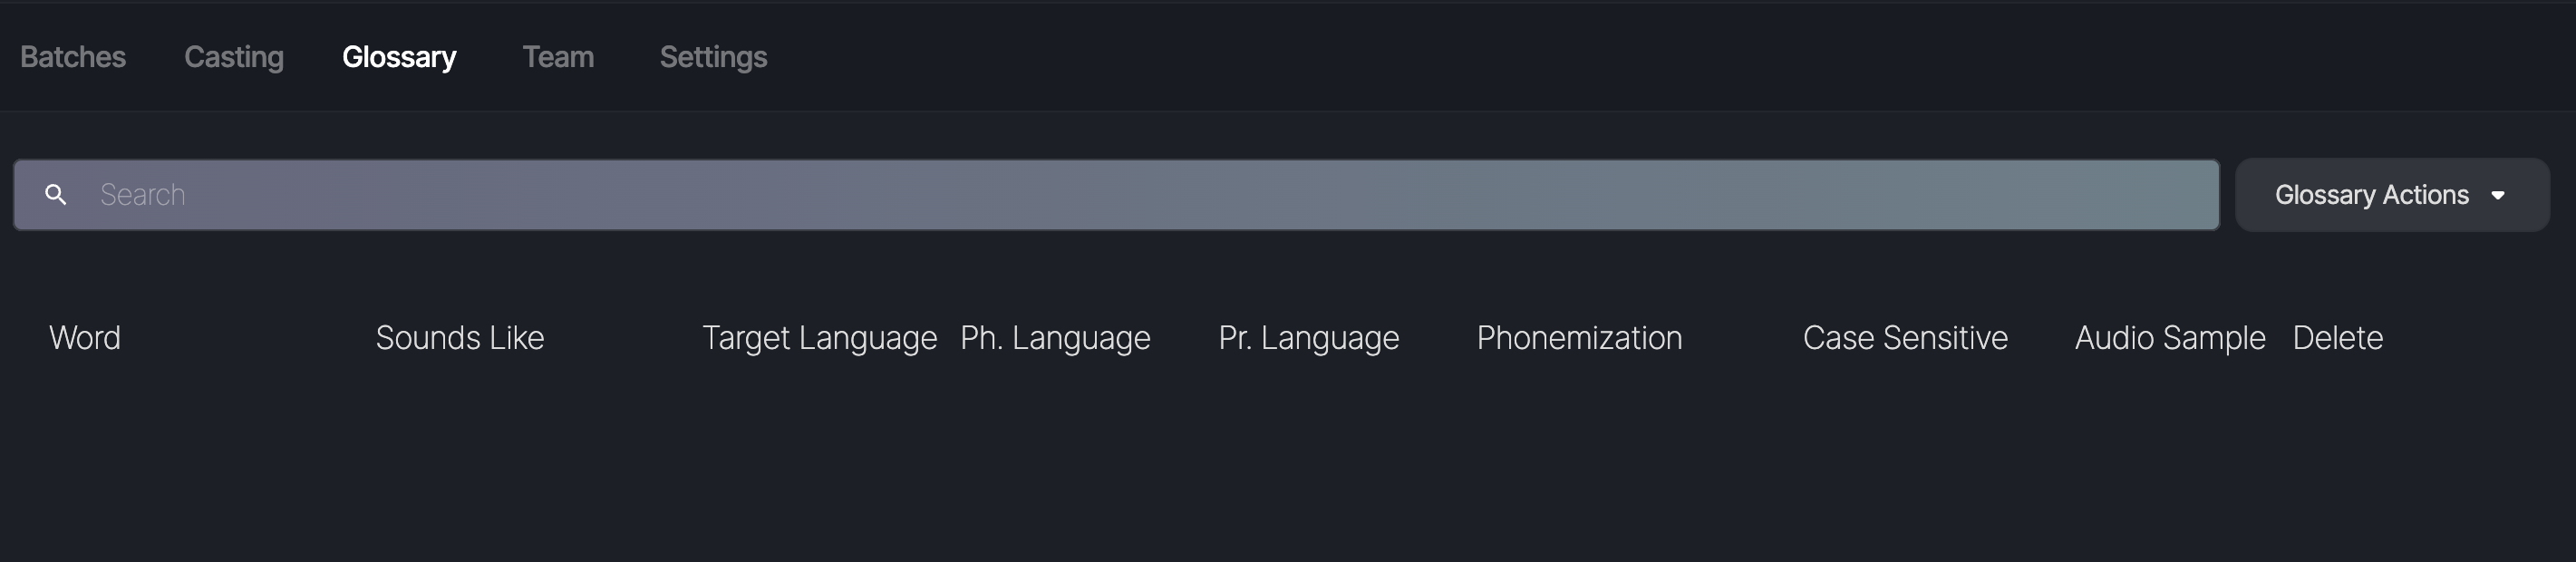
To create and/or update a glossary, select the Glossary Actions button, and choose one of the following options:
- Add Word
- Upload File
- Download Glossary
Add Word
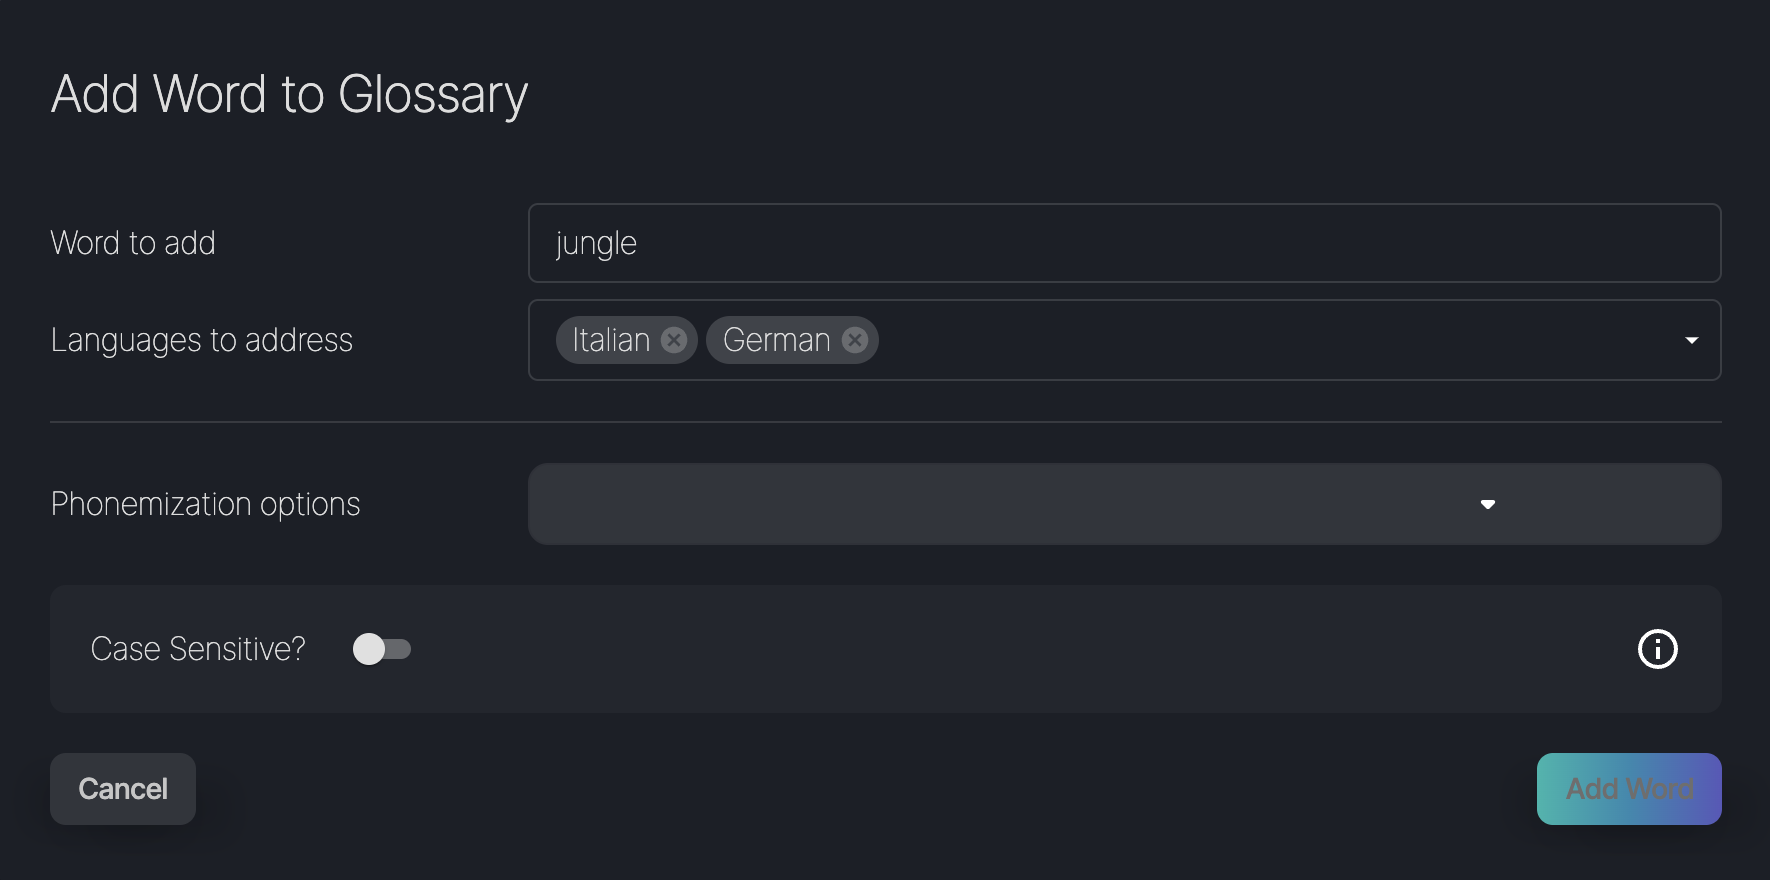
To manually update the glossary, click on Add Word. On the next screen, you can enter the word, select a language, and choose a phonemization option.
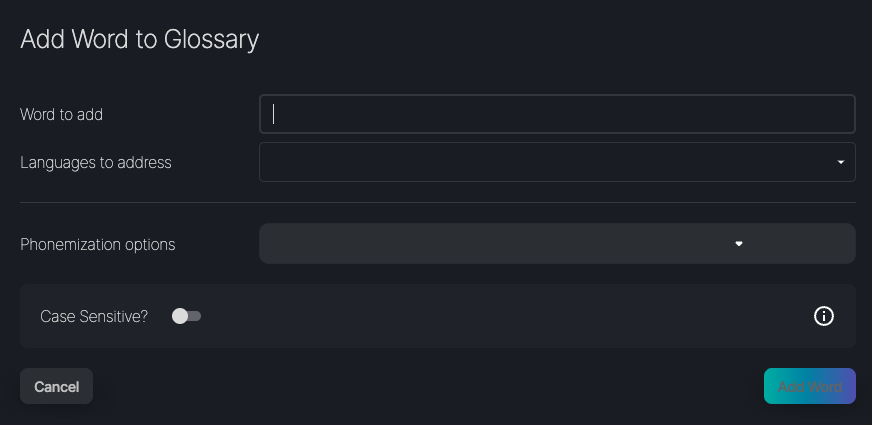
You can assign the term to one or more languages.
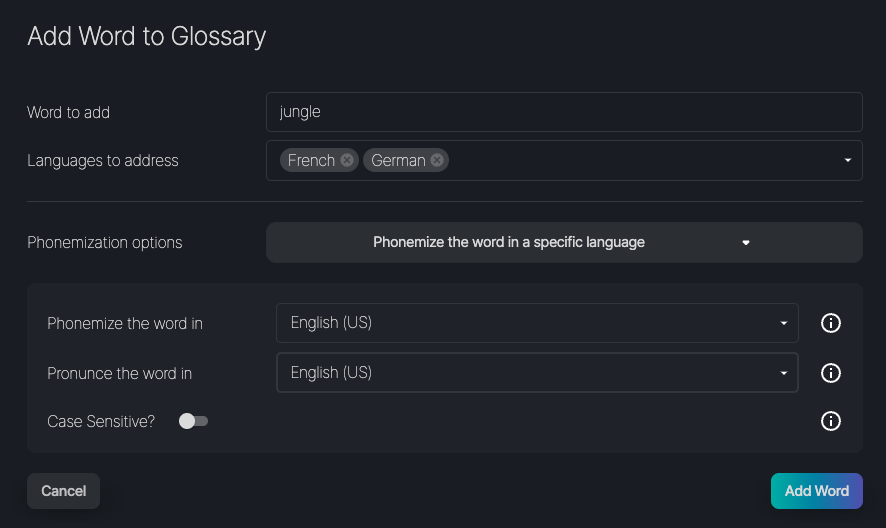
Phonemize the word in a specific language
You can phonemize the word in a particular language and select a pronunciation language from the drop-down menu. For example, if you phonemize the word in 'English' and pronounce the word in 'German', the word will be pronounced in German with an English accent. You can also select the same language, however.
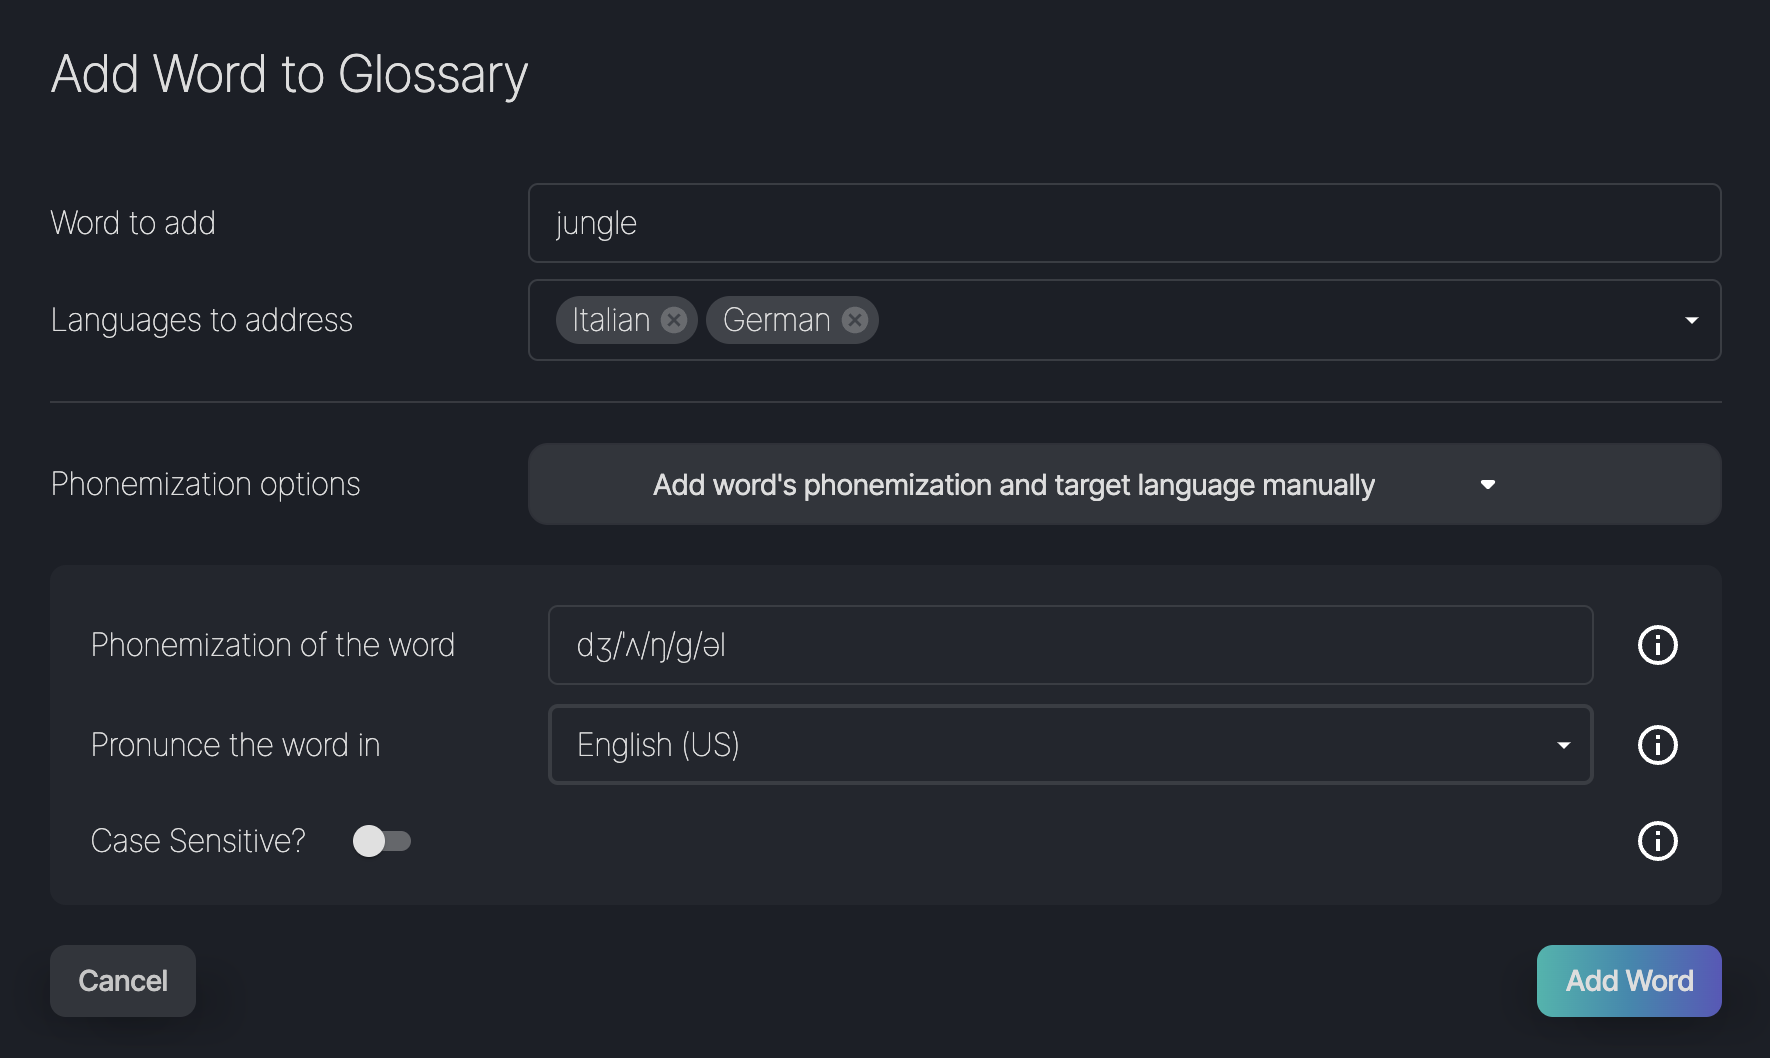
Add word's phonemization and target language manually
You can use the International Phonetic Alphabet (IPA) notation to add a custom phonemization. By adjusting the pronunciation language, you can further customize how the phonemized word is pronounced to reflect the phonetic characteristics and accent of the language you choose.
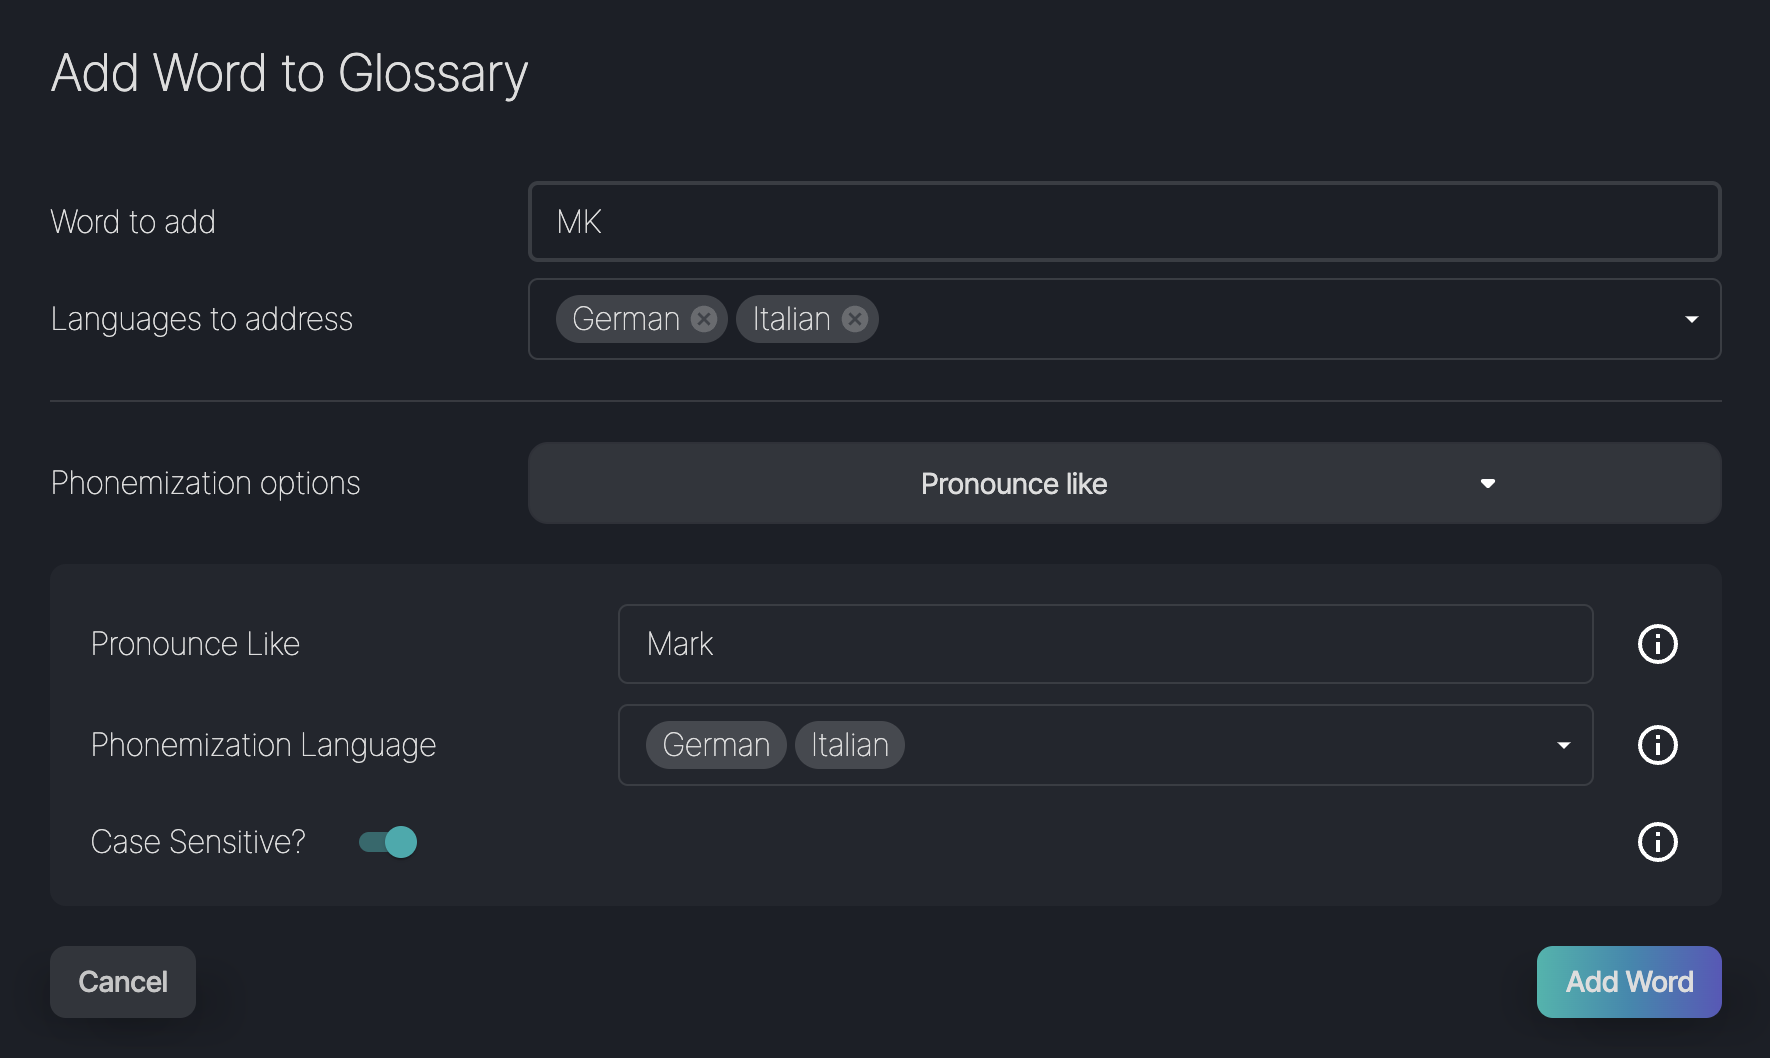
Pronounce like
You can enter a word and specify a pronunciation language. This will add the word to the glossary as pronounced according to the phonetic rules and characteristics of the selected language.
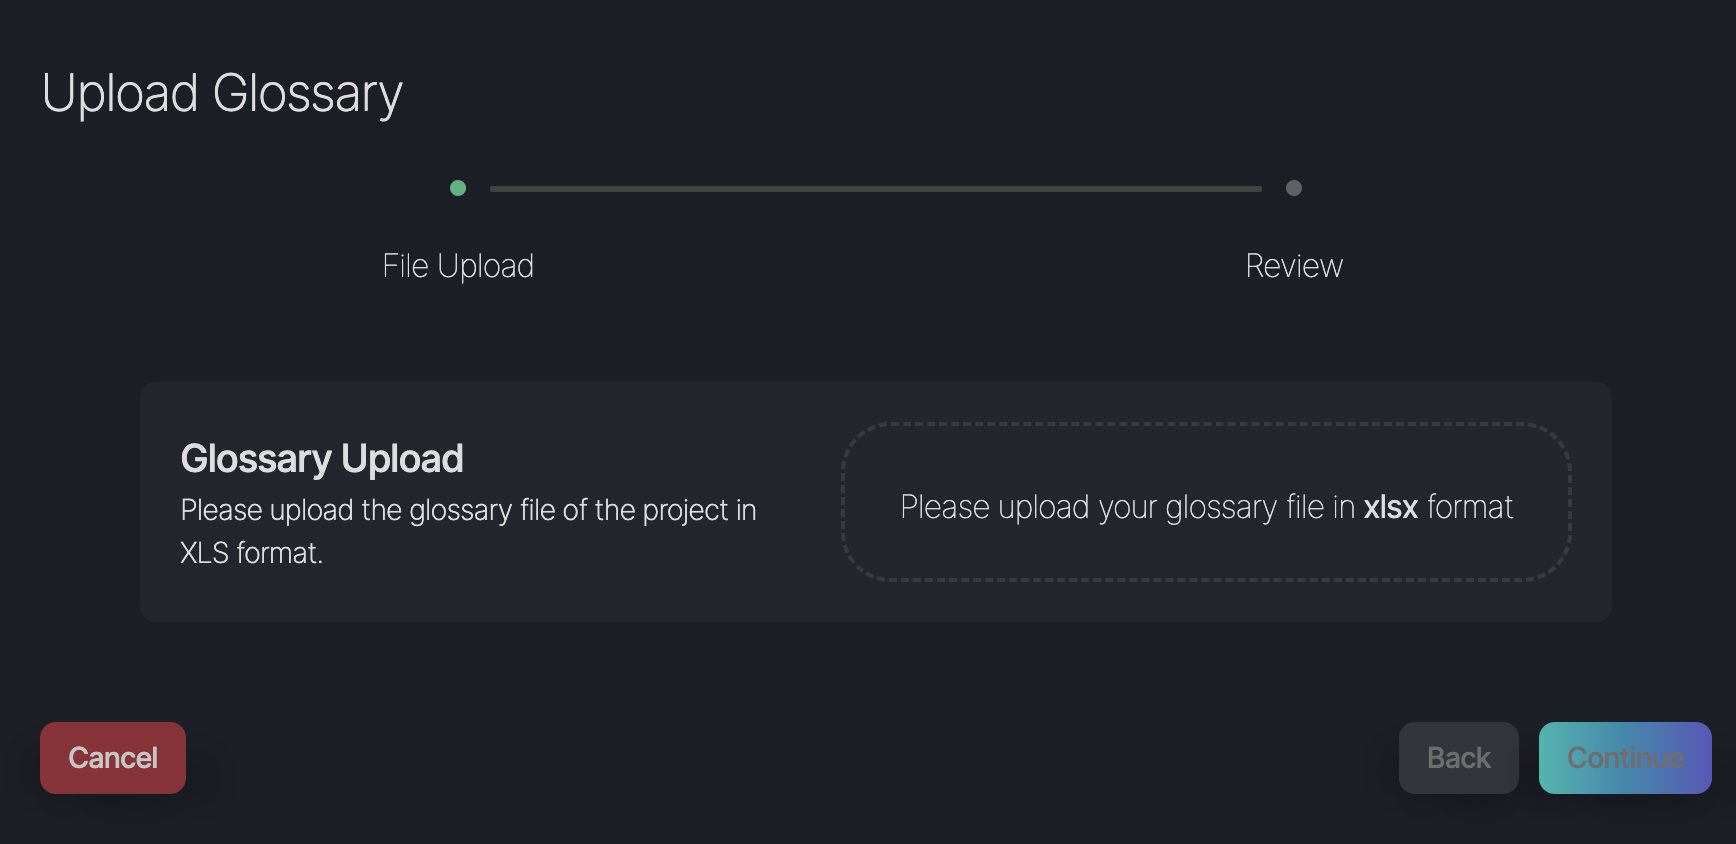
Upload File
The Upload File action allows you to upload glossary entries. On the upload screen, you can select an .xlsx file and review its contents before completing the upload. This ensures that you can verify the information before finalizing the update.
You can find the upload template for glossary entries in the documentation next to the search bar under Download Reference Data.
Once you have added terms to a Glossary, they will start to appear in the term list.
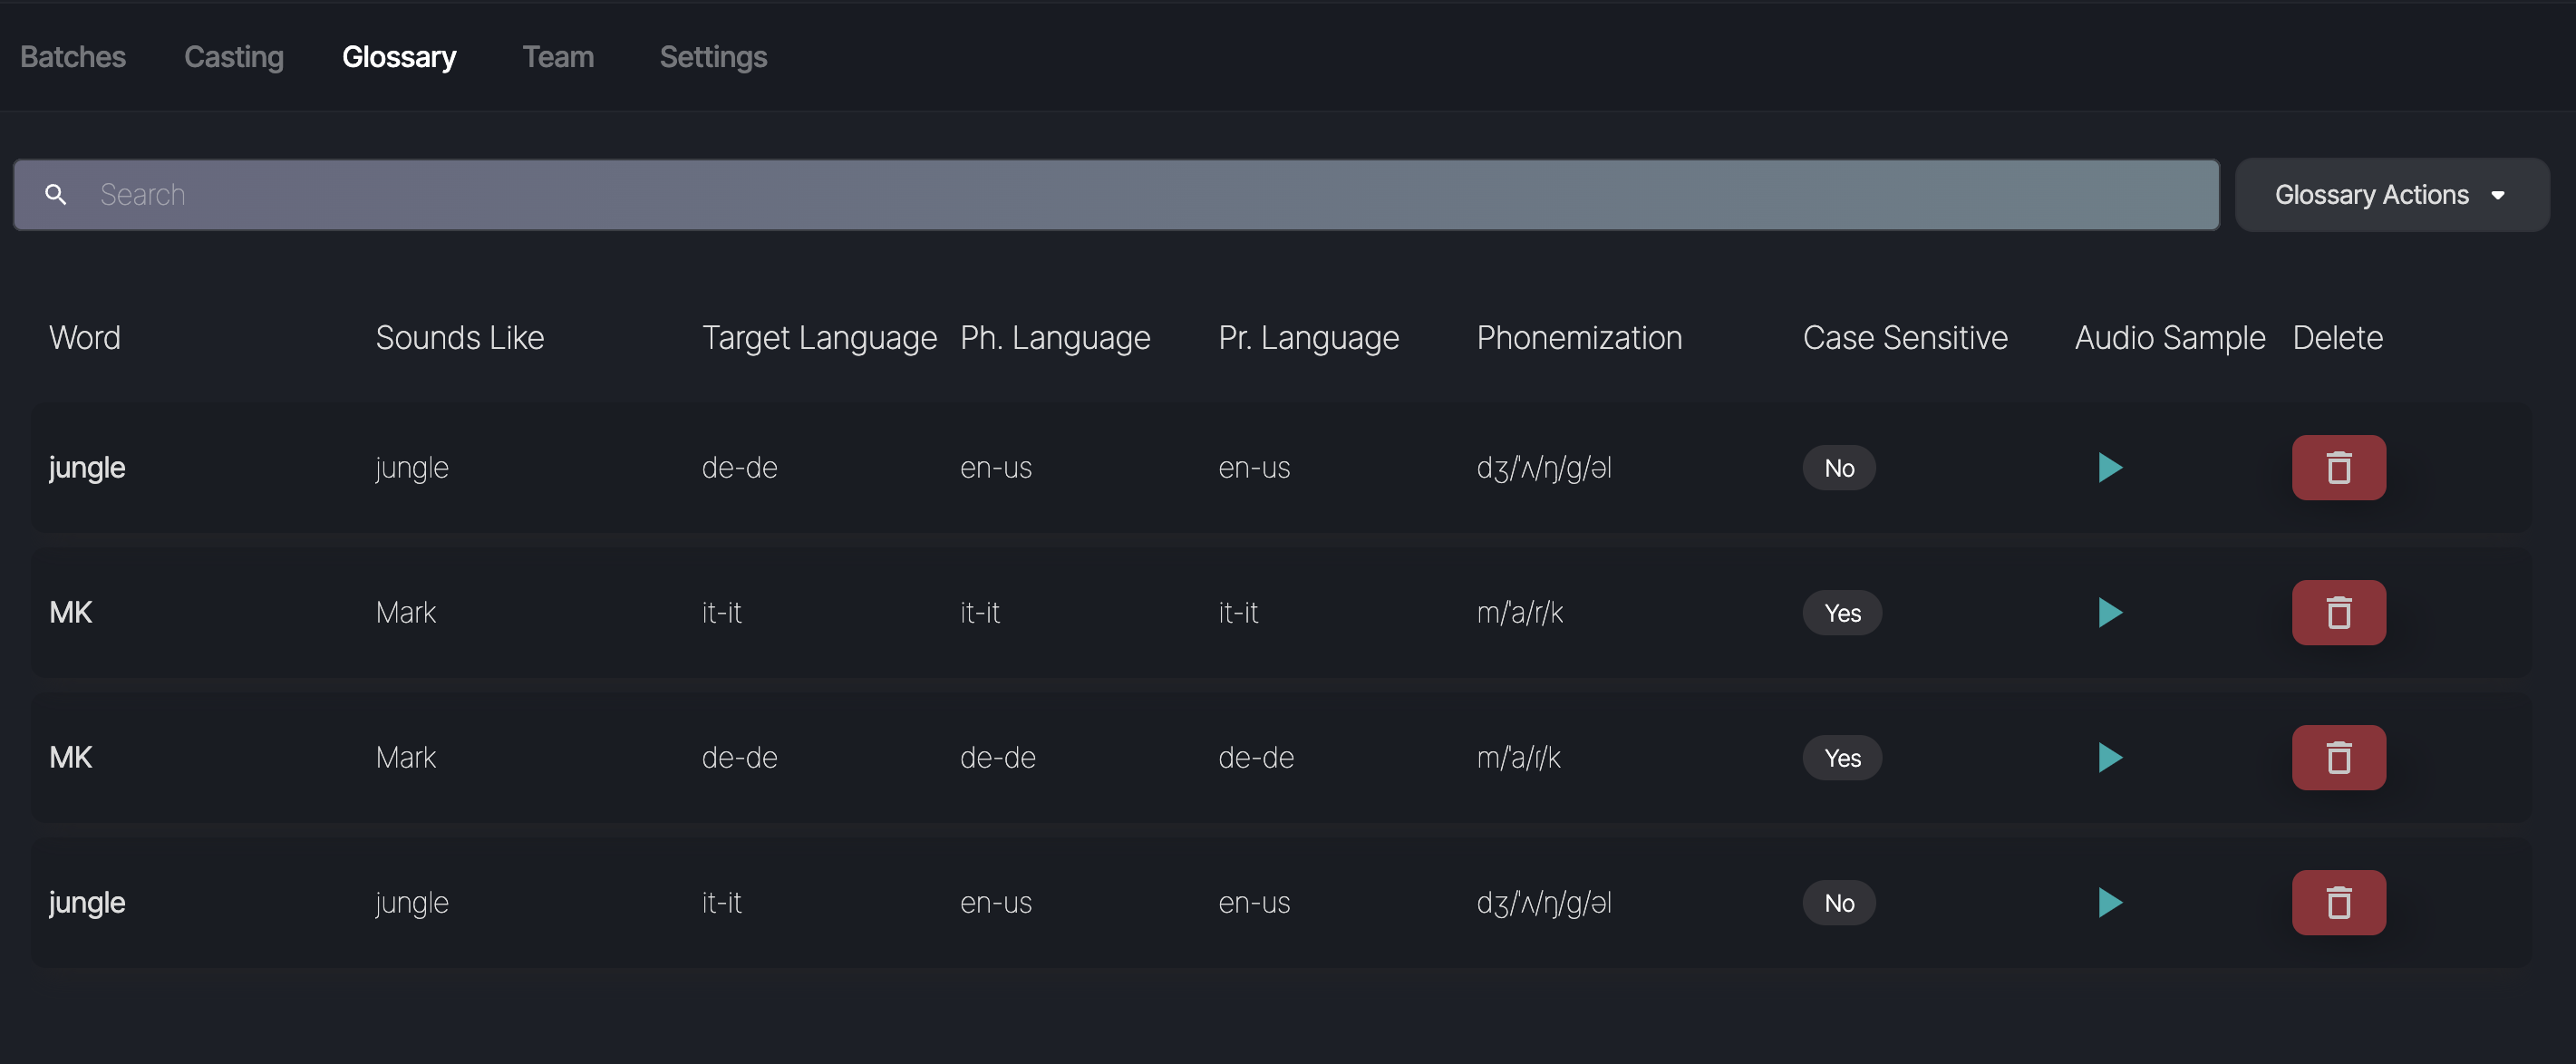
You can listen to the audio preview of all terms included in the glossary simply clicking on the Play button next to each term. The audio will be delivered by a default voice. To make any changes to the glossary, simply click the pencil icon next to each item in the created glossary.
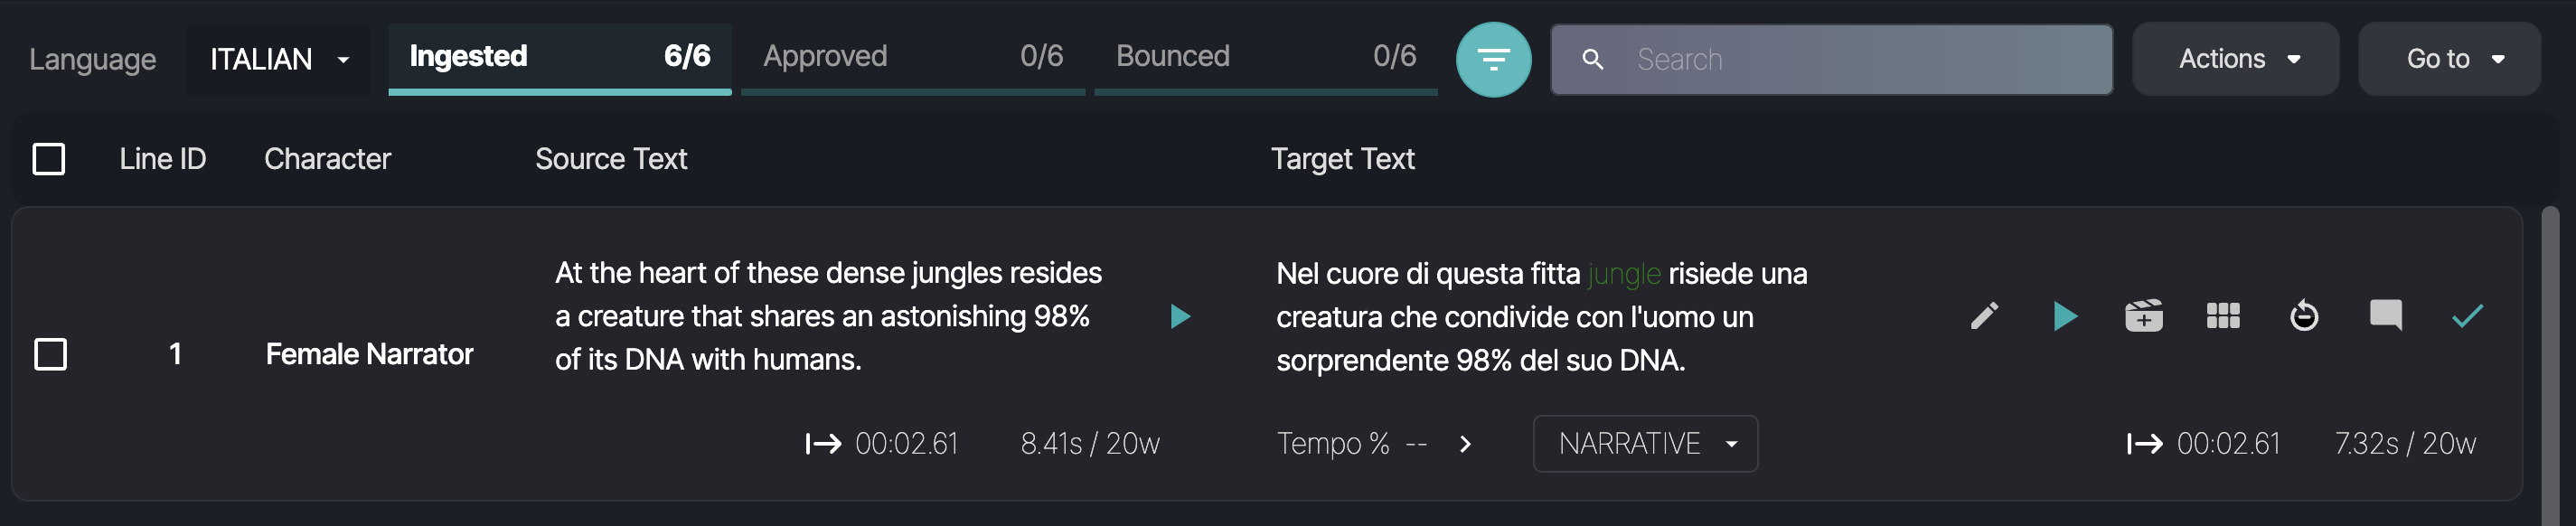
Any term added to the glossary will be highlighted in green within the target text box.
If you modify the phonemization of a glossary term using the Text Editor feature, this modification will take precedence over the original phonemization set in the glossary. The term with the adjusted phonemization will be highlighted in blue or yellow, rather than green, depending on the specific change made. This color coding helps distinguish modified terms from glossary terms.
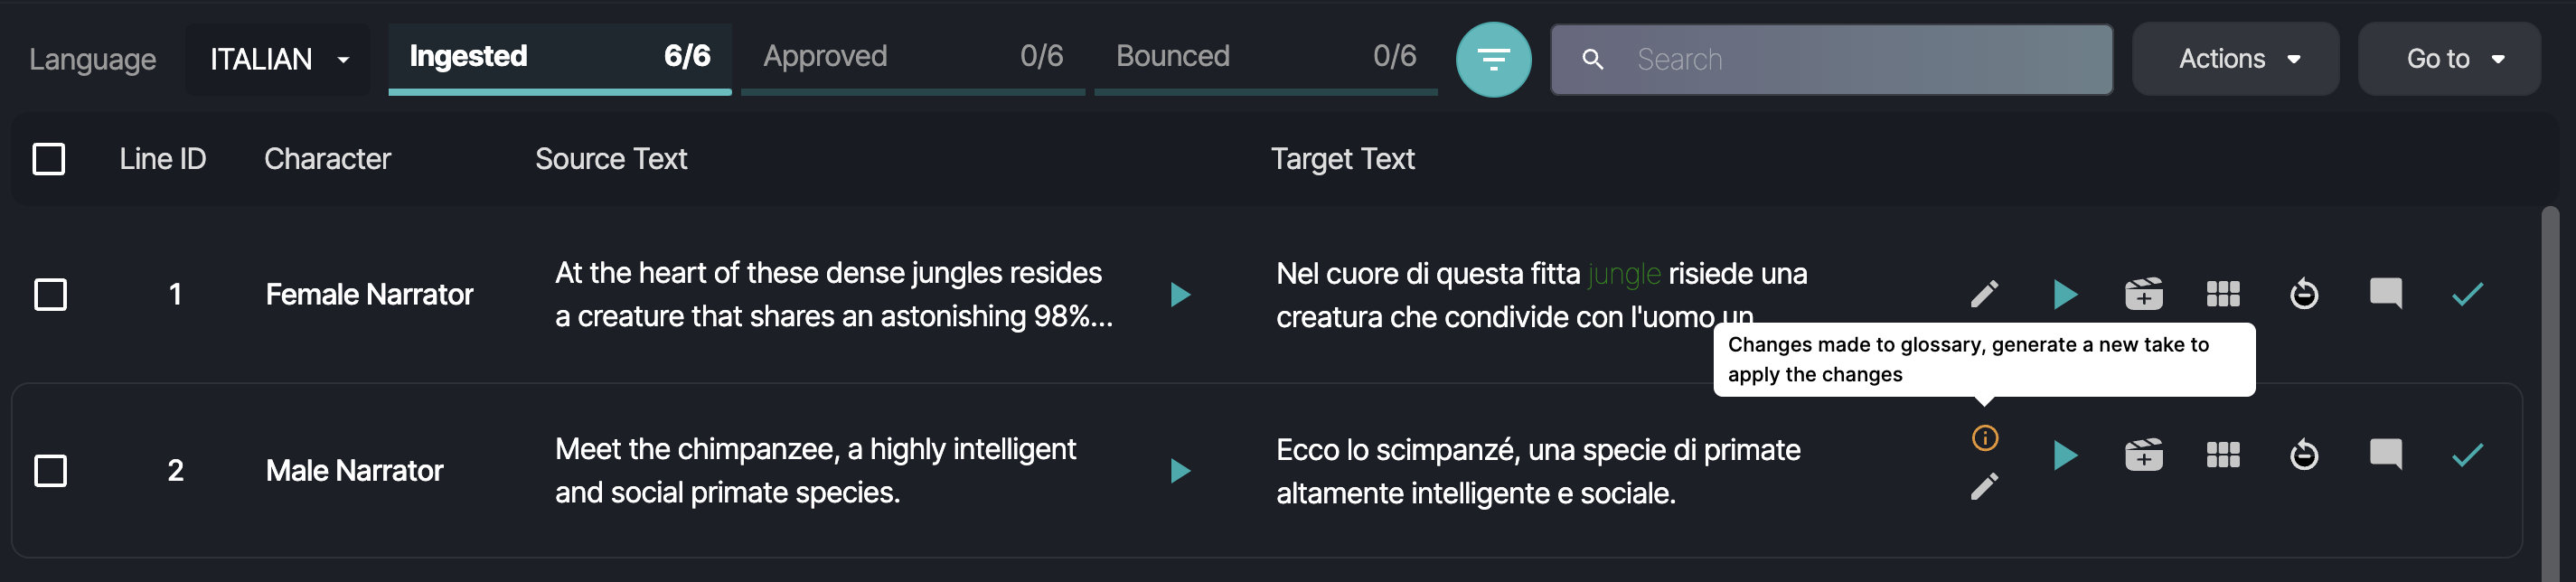
If you change a glossary term after generating audio for a line on the Preview Page, a warning message will appear alerting you that a change has been made to a glossary term. To apply this change, you must generate a new take to ensure that the updated pronunciation is reflected in the output.
Download Glossary
You can download the updated glossary as an Excel file at any time by selecting Download Glossary from the Glossary Actions menu.